Entra ID Single Sign On
Request SSO enablement
Send SSO enablement request to spotter@cloud2.fi. We’ll make everything is ready and provide you the following information
Entity ID
Reply URL
Sign on URL
Relay State
Attributes & Claims
Configure Entra ID
Create application in Entra ID
Note: Do not use the Spotter Enterprise App for this. Create a new one.
Log in to the Azure Portal.
In the Azure Services section, choose Entra ID.
In the left sidebar, choose Enterprise applications.
Choose New application.
On the Browse Entra ID Gallery page, choose Create your own application.
Under What’s the name of your app?, enter a name for your application and select Integrate any other application you don’t find in the gallery (Non-gallery), as shown in below. Choose Create.

It will take few seconds for the application to be created in Entra ID, then you should be redirected to the Overview page for the newly added application.
Note: Occasionally, this step can result in a Not Found error, even though Entra ID has successfully created a new application. If that happens, in Entra ID navigate back to Enterprise applications and search for your application by name.
Set up Single Sign-on using SAML
On the Getting started page, in the Set up single sign on tile, choose Get started, as shown in below

On the next screen, select SAML.
In the middle pane under Set up Single Sign-On with SAML, in the Basic SAML Configuration section, choose the edit icon.
In the right pane under Basic SAML Configuration, insert Identifier ID (Entity ID), Reply URL (Assertion Consumer Service URL), Sign On URL, and Relay State fields with values you received from us. Choose Save.
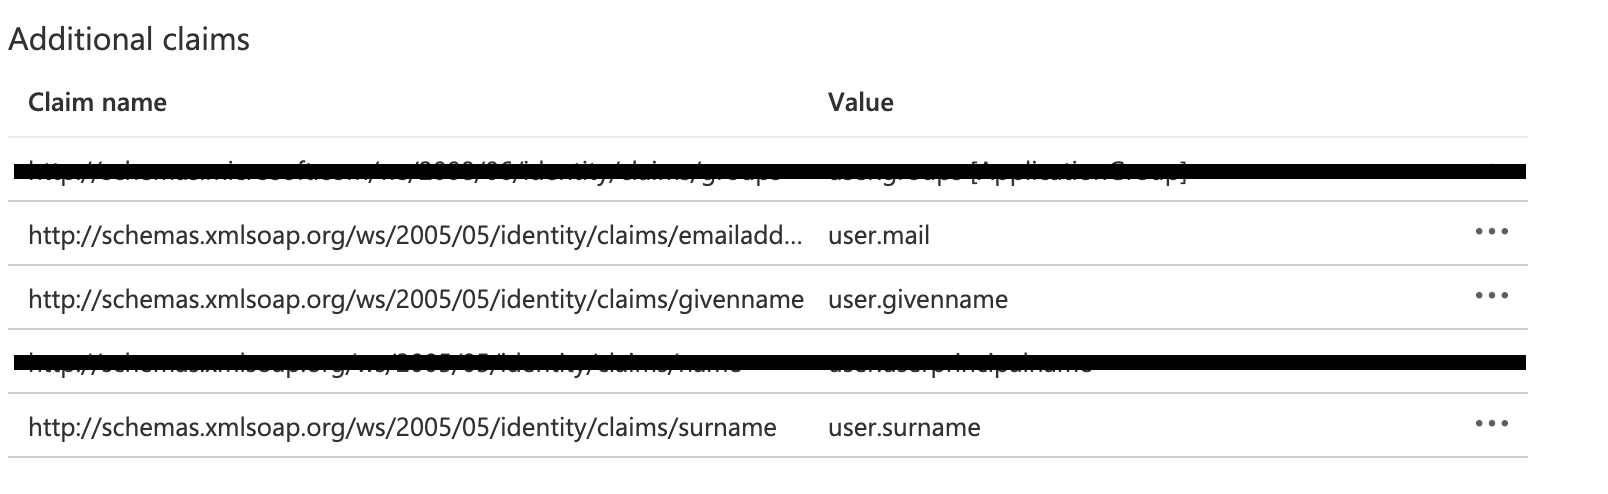
In the middle pane under Set up Single Sign-On with SAML, in the User Attributes & Claims section, choose Edit.
In a text editor, note down the Claim names under Additional claims, as shown below. You’ll need these when sending information back to us.
Close the User Attributes & Claims screen by choosing the X in the top right corner. You’ll be redirected to the Set up Single Sign-on with SAML page.
Scroll down to the SAML Signing Certificate section, and copy the App Federation Metadata Url by choosing the copy into clipboard icon (highlighted with red arrow in figure below). Keep this URL in a text editor, as you’ll need it in the next step.

Add users or groups to the application
Deliver information to Cloud2
Deliver the following information to spotter@cloud2.fi
App Federation Metadata Url
Claim names of
user.mail
user.givenname
user.surname
List of email domains you want to redirect to your SSO
We’ll configure our end and notify you when the setup is complete and you can start logging in with SSO.